I thought I would share with you a project that I did earlier in the year. It was a project that I was for an electronic Easter Egg hunt. If you are not familiar with Easter Egg hunts, they involve giving a series of clues written on paper. Those clues are put in secret locations with a bunch of Easter eggs and the kids are given the first clue about where the first collection of eggs are hidden. When they find those eggs, they get the eggs and the next clue is available there as well. As they keep solving clues, they get the eggs and the next clue. Through to the end of the hunt.
So what I thought I would do is instead of using paper clues, I would do it electronically. The kids would have a tablet and on that tablet would be a web page which gives a graphical clue with a pretty background image and some clue text over the top of it. They look at the clue, think about where the eggs would be hidden according to the clue and go and find the eggs. When they find the eggs, they click a button on the web page which hides the current clue and gives them the next clue.
I was thinking about how to do this and I could have done a static HTML page with some static text and images. But I was not the only person involved in this. I did the web site and somebody else did the text and images. So a static page would have worked OK but it would have involved making code changes when text or images changed. So I needed some way that I could work on my part and the other person could work on their part. So I decided to use WordPress and I ended up using the REST API functionality available through WordPress.
WordPress has some really good documentation regarding the REST API. At its most basic, any content that is entered into the WordPress database can be retrieved via the REST API. All we need to do is consume it on our web page and display it to the page. For the purposes of this project, we are using JQuerys's AJAX API to get the content.
I decided to create the content on my own web site - woolston.com.au - as a custom post type. I created a custom post type called 'Easter' and I did this so that the Easter Egg Hunt posts would not interfere with the other posts that I have on the site. I did not want Easter Egg hunt posts appearing in my tech blog roll!
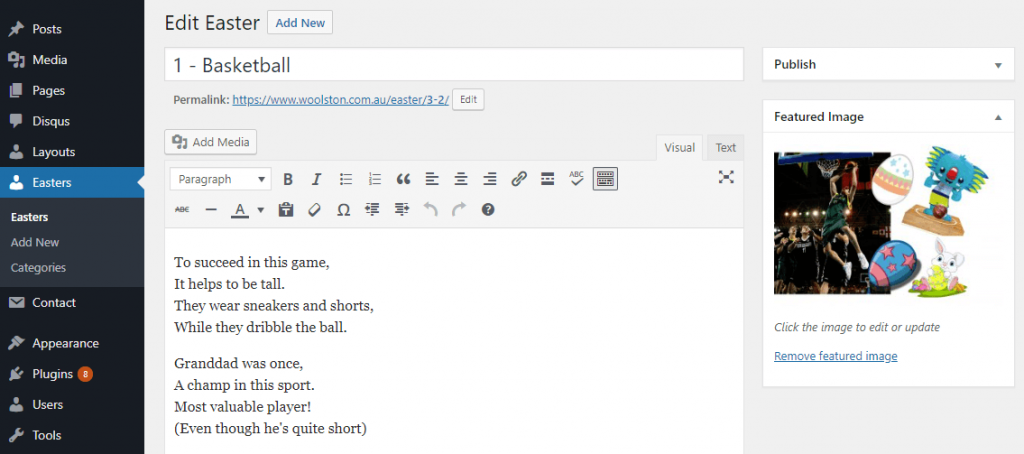
I used the most basic attributes of the post - Title, Content and Featured Image. The main content that we will be using are the content text and the featured image. The Title is simply for sorting. You might notice that the titles of each of the posts relate to sports. The reason that we did that was because the Commonwealth Games were being held here in Queensland on the Gold Coast at the time. So we decided to use a Commonwealth Games theme. You can see the featured image relates to sports.
So that's how we are storing the content.
I will do another article in the future around how I make custom post types.
Let's have a look at the web page that will consume the API data. It has a background image with Bootstrap (css and javascript), Jquery and a stopwatch library which we will use to start a timer when the hunt is going.
Firstly, we will get the WordPress API data.
The basic idea is that when the page loads, we will hit the WordPress API and retrieve all of the posts that we will need. I could have made a call to WordPress each time we wanted some clue content, but I thought it would quicker to run the hunt if we cached all the content at the beginning and just "page" through them as needed. So we get the content and then create some DOM elements to contain the API content. Then we iterate over the API content array and inject it into the $("#slides") container. We are using the Bootstrap class "hidden" so that all slides are hidden by default.
So now we have all the content in the page. This is where the functionality of the hunt game begins.
Let's give an indicator that shows how long it is taking to find the clues. To do this, we will pop up a stopwatch ticker. When the kids find the next clue, they click a button, which stops the timer and the next slide is shown. I did the stopwatch in a Bootstrap modal and wired it up to a button. When the button is clicked, the modal is displayed and the stopwatch timer is started. There is a button in the footer of the modal which closes the modal. There is some javascript which listens to the Bootstrap modal close event, stops the timer and moves on to the next slide. In order to navigate to the next slide, we need to know which slide we are currently on. So we create a couple of global variables for totalSlides and currentSlide which we will use to know which slide are on and which one is next.
This is where we write the NavigateSlide() function. We pass in the slideId and then hide all slides and "unhide" the slide we are navigating to. We will also use the NavigateSlide() method on the "Back" button too. We can do this because we have a global currentSlide variable which we can increment or decrement as needed. So when the navigateSlide() method runs, the intended slide is displayed. Click the GO button and the modal pops up with the stopwatch timer. The timer continues until the "FOUND THEM" button is clicked. Clicking that button will stop the timer, hide the modal and navigate to the next slide. And the process continues until the currentSlide == totalSlides.
I hope that was interesting to some of you. There were some pertinent technologies involved including:
- WordPress
- WordPress REST API
- Jquery
- Bootstrap
- Javascript
If you have any questions at all, feel free to ask. I will answer as many as I can. All the code is available on Github. If you like this, please tell your friends.
Til next time.